Raider Mod by Masahiro
TYM is proud to publish this mod with the friendly permission of Masahiro Tanikawa and Infinite Illusions
It is a Raider mod for looping and it gives the yo-yo more sleeptime, which is needed e.g. for wraps.
This particular Looping Raider mod cannot be undone, and can destroy your yo-yo if it is done incorrectly. The modifier must take responsibility for this mod before undertaking it. Parents should supervise children undertaking this mod.
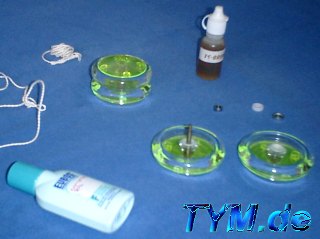
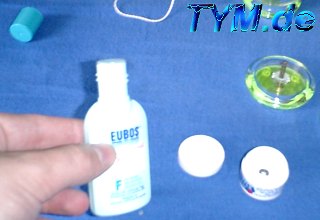
| The stuff you need for 1 Masahiro Raider:
Material:
Tools:
|
 |
|
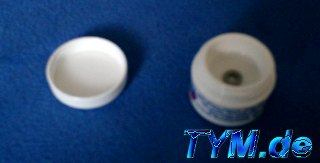
| Take out the ball bearing and place it in a small amount of lighter fluid so that it completely covers the ball bearing. Leave the bearing for 3 minutes in the fluid and then take it out. |
 |
|
 |
Make sure to dry the bearing completely before putting it into the
yo-yo.
This makes the yo-yo to sleep longer, but makes the bearing wear out faster |
|
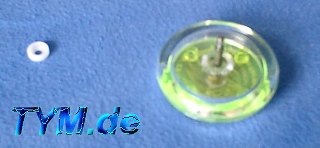 |
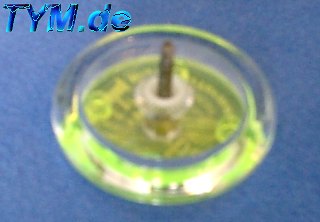
Put the two plastic spacers and the ball bearing back into the yo-yo. | |
| First one plastic spacer |
 |
|
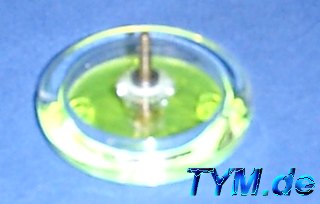
| Then the ball bearing and again one plastic spacer. |
 |
|
| Put one metallic Raider or RB2 spacer on the axle on one side of the
yo-yo.
The order should be as follows: The yo-yo half with the axle sticking out of it, a plastic spacer, the bearing, a plastic spacer, the metal spacer. Please note: The plastic spacers should have their cup sides (the sides with the depression in them) facing the bearing, just like in "normal" yo-yo assembly. |
 |
|
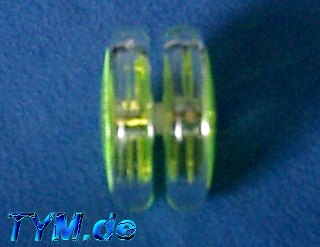
| Place the other half of the yo-yo (the one without the axle
sticking out) onto the axle and screw it on. |
 |
|
 |
Close the yo-yo completely, but gently! | |
 |
Then twist the yo-yo an additional half turn from this point (this crushes the plastic spacers a little and gives the yo-yo a wider gap, which causes less friction on the string so it sleeps longer). Do not crush the plastic spacers more than one half turn! | |
 |
Take out the metallic spacer. You will not be using it on this yo-yo for anything else in the project. Retum it to the yo-yo you borrowed it from. If desired, put small amount of your favorite lube between the bearing and the plastic spacers, and between the spacers and the body of the yo-yo. Avoid getting any lube on the string or on the face of the bearing that comes in contact with the string. Carefully tighten the yo-yo until the yo-yo feels comfortable for looping. |
(c)2002 Infinite Illusions (www.yoyoguy.com) and Masahiro Tanikawa
![]()